Creative process of taking pictures
Hello dear readers,
In this post we are going to walk you through the creative process of taking pictures and editing them in a mobile application called Snapseed (using double exposure).
Concept
Just like we are drawn to look up towards the building or the clouds, as we walk, I believe that recognisable objects can guide us from below our feet, from the cracked pavement.
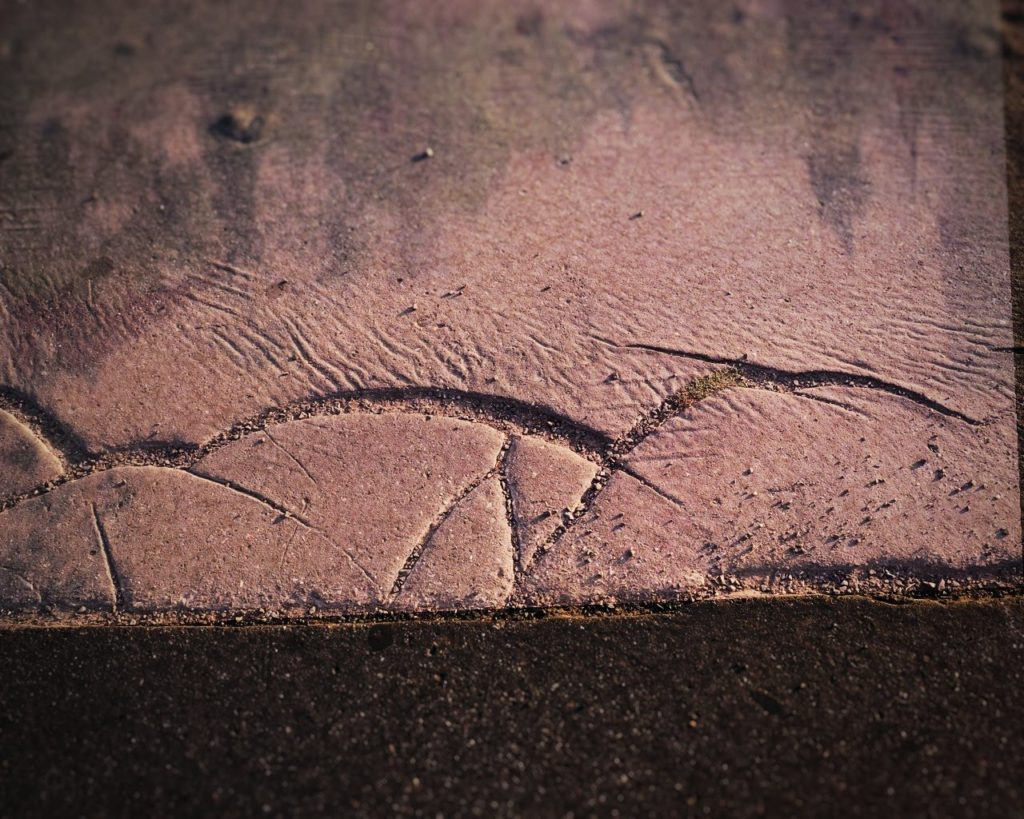
As we were walking the streets of Prague one late afternoon, Juli stopped to take pictures of a sidewalk. She noticed the patterns that looked like birds, or their steps. Even from seemingly dull objects can be created something nice. For example take a look at one of the original photos below.
What do you see? I don’t mean now just furrows on concrete. I can see birds, but I can also imagine hills or a lying person.

concrete bird
You can check out also the Sidewalk Kintsukuroi project for more inspiration:
Juli also takes photos on film camera and one was taken from a bridge over a railway as shown below.

a railway
I could see some potential in combining these photos together, because by adding some colour and grain from a film photo to an otherwise pretty flat grey photo we can create nice artistic image. Snapseed is a free photo editing application from Google that we are going to use.
Post processing
Step 1:
We open a photo (‘concrete bird’ in this case) and we select ‘Tools (Nástroje)’ from a bottom menu. Then if we scroll down the list of tools we select ‘Double exposure (Dvojitá expozícia) as shown on a picture below (Screen below might look different on iPhone for example)

Tools > Double exposure
Step2:
In this mode of double exposure we want to add another photo on top by clicking on the 2nd icon from left. I selected the film photo I showed you and rotated it 180 degrees to create some kind of clouds from a landscape. I aligned it also with a horizontal line that is visible on a background image to separate a ‘sky’ and ‘sea’…at least that’s what I imagine there 😊
We have a couple more options there though. In the middle there is an icon that allows as to make some adjustments on these 2 layers. We can make some parts lighter, darker, add , subtract, but I chose the last ‘overlay (prekrytie)’ option that worked best for me.
You can also change opacity of the added photo with a ‘drop’ icon. Please take a look at picture below that shows a process.

Select overlay option
Final images

flying over sea

migration

steps